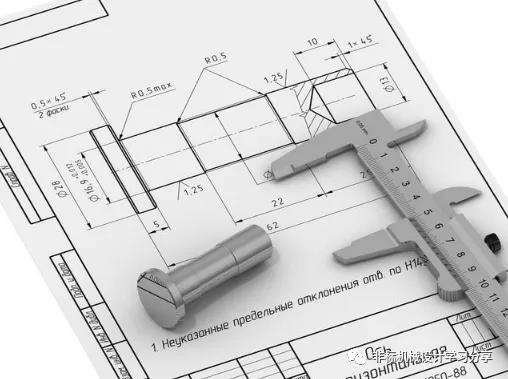
Tolerance Rules in Non-Standard Mechanical Drawings
2022.02.10
Fundamental Dimension Rule
Basic Engineering Drawing Dimensional Tolerance Dimension Rules (ASME Y14.5M-2009)
1) All dimensions must have tolerances except reference dimensions.
2) Dimensions and tolerances must be comprehensive, and all properties of each shape must be defined. Measuring drawings to determine dimensions or guessing assumptions is not allowed.
3) Only mark all the necessary dimensions for expressing the product, and minimize the use of reference dimensions.
4) The size should be selected according to the function and coordination of the product, and there should not be multiple explanations.
5) The processing method should not be marked on the product drawing (unless the processing technology, quality assurance or environmental information is the basis of the product characteristics).
6) While giving the dimensions of the final product, it is allowed to mark the dimensions of non-mandatory process parameters that provide information such as machining allowances. These dimensions should be indicated as non-mandatory.
7) Dimensions should be properly laid out for optimal readability. Dimensions shall be laid out on actual contour drawings and marked on visible contour lines.
8) Wire, pipe, plate, bar or other raw materials produced by measuring tools or grades should be marked with linear dimensions such as diameter or thickness. The gauge or product grade should be indicated in parentheses after the dimension.
9) The center line and the outline of the shape are displayed as right angles on the drawing, and the default is 90 degrees if there is no label.
10) The centerline or surface of the array shape positioned or defined by the basic dimension, if it is displayed as a right angle on the drawing without dimensioning, it defaults to the basic dimension of 90 degrees.
11) When the central axis, central plane or surface is consistent on the drawing, the default is the basic dimension with a value of 0, and the mutual relationship is defined by the geometric tolerance.
12) Unless otherwise noted, all dimensions are at room temperature 20°C. Compensation for dimensions should be considered if measurements are made at other temperatures.
13) Unless otherwise noted, all dimensions and tolerances are for free state conditions.
//So the shape and position tolerance is rarely marked with F, the free state symbol.
14) Unless otherwise specified, all geometrical dimensional tolerances apply to the entire length, width or depth of the form.
15) All dimensions and tolerances apply only to the product level represented on this drawing. The dimensional tolerance of a feature expressed on one drawing level (such as a single-part drawing) is not absolutely applicable to the dimensional tolerance of the feature on another drawing level (such as an assembly drawing).
16) Unless otherwise specified, when the coordinate system appears on the drawing, it must be on the right. Each coordinate axis must be marked and marked with the positive direction.
//You can refer to the note when drawing the drawing. Among them, the drawing of engineering drawings of 3D software can provide great help for the mastery of standardized drawings and knowledge. (Specially referring to SolidWorks, CATIA's national standard standardization is very bad)

Previous:The selection of fixtures for half of the machine tools is unreasonable
Next:Graphics
Related Information
- Industry news
- The tap or drill bit breaks in the hole, how to fix it?
- Why do airplanes use rivets instead of welding?
- Why are engineering drawings all blueprints?
- How is a ping pong ball made? It turns out that it is made of two pieces of plas
- What to do if quality is abnormal? Doing these 3 things well is the key!
- Weekly News 9.7-9.13
- Huawei's three-fold screen is approaching, and the domestic supply chain is wait
- Innovative application of digital twin technology in integrated die-casting prod
- 5 types of carbide cutting tools, what are the differences? Save this article an
- Global manufacturing PMI in June was 49.5% | Weekly News 7.6-7.12
- Raw material defects | Machining special operations and practical cases 109
- No wonder Toyota stamping is so good: a day in the life of a Toyota stamping sho
- Analysis on the development trend and demand of China's mold industry
- How many types of sealing rings are there in machinery? What are they used for?
- Hangfa, Hangfa, a scar on the hearts of machine processing workers
- How to mill a large arc surface with a small cutter?
- Dynamics of the processing center of the process! What is the fundamental reason
- 500 ° C ultra -strong aluminum alloy! This problem is overcome
- How much do you know about the hometown of machine tools and molds, how much do

 BACK
BACK MT HOME
 Navbar